Setting Up Your AI Chatbot
Laxi.ai allows you to create and configure an AI chatbot for your ecommerce store, even if you are not using Shopify. This guide walks you through the key steps to set up your chatbot, connect data sources, and deploy it on your website.
1. Creating Your AI Agent
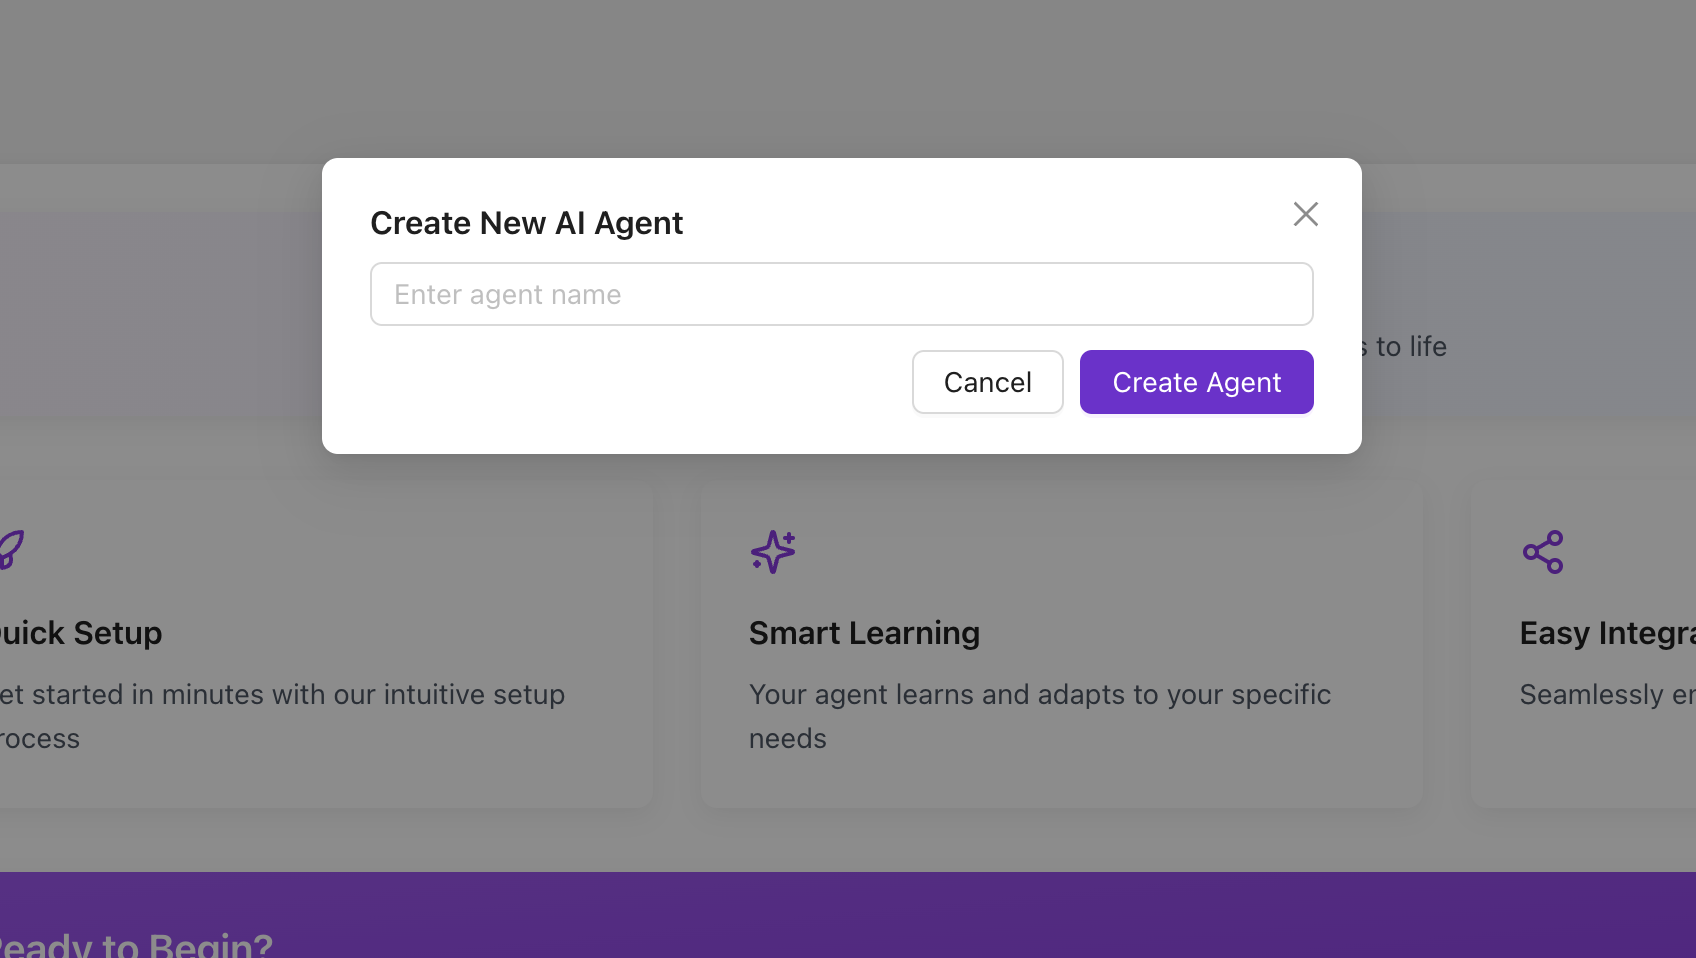
To get started, navigate to Laxi.ai Dashboard → Agents and click on new AI agent. This chatbot will handle customer interactions, product inquiries, and support requests.
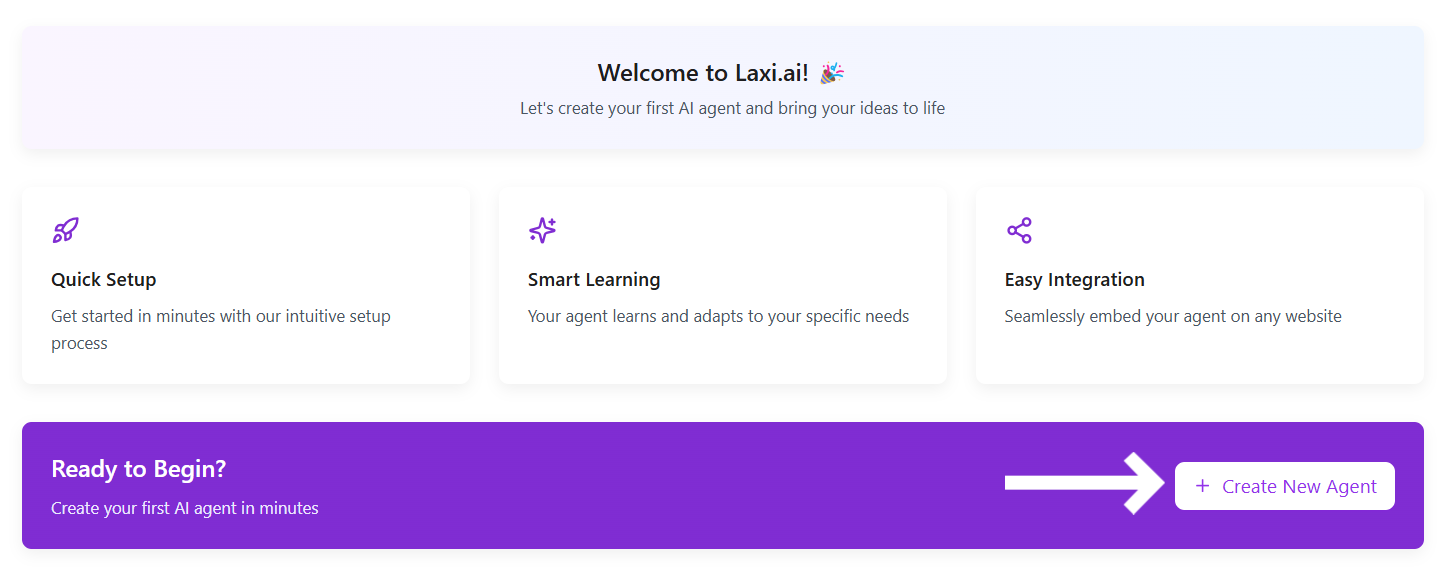 Once you click there, provide a name and get started with your very first AI agent.
For more details, visit Agent Configuration.
2. Customizing Your Chatbot
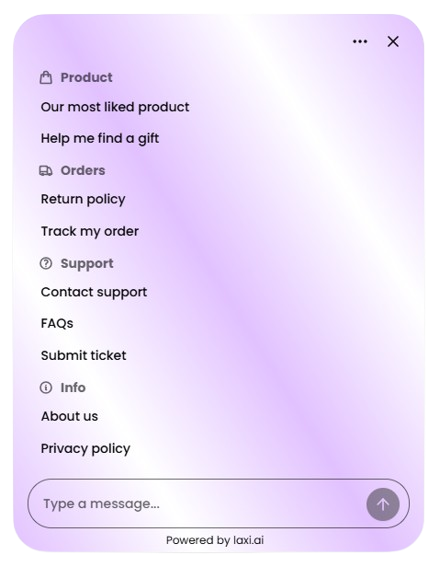
After creating your chatbot, the next step is to customize its appearance and behavior. Navigate to Laxi.ai Dashboard → Design Settings to configure:
- Brand colors and fonts
- Chatbot language and tone
- Welcome messages and suggested responses
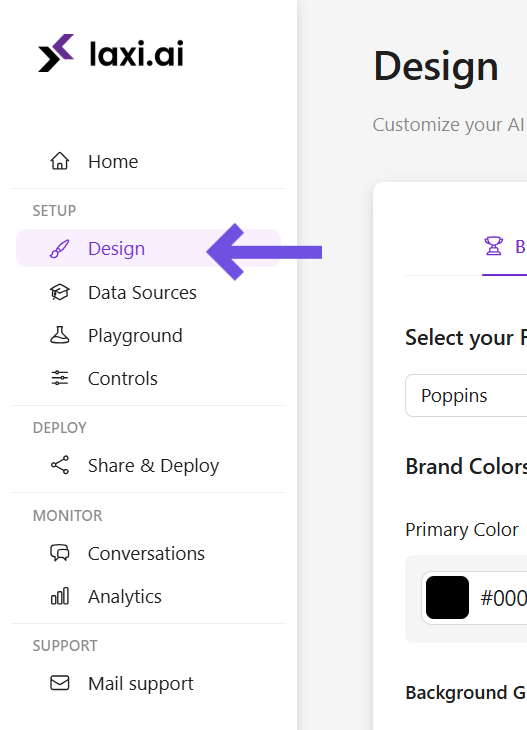 Once inside the Design Customization panel, set up your chatbot’s UI elements, messaging tone, and toggle placement.

For a deeper customization guide, visit Design Customization.
3. Connecting Your Data Sources
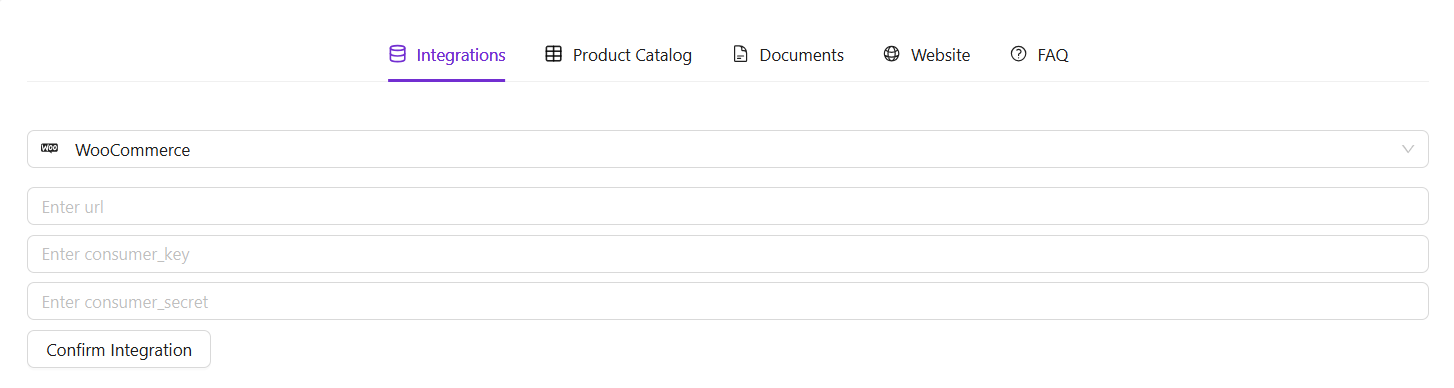
Your chatbot needs access to product information and company details. Navigate to Laxi.ai Dashboard → Data Sources to:
- Connect your WooCommerce store or manually upload products via Google Sheets.
- Add company knowledge, such as FAQs, policies, and support documents.
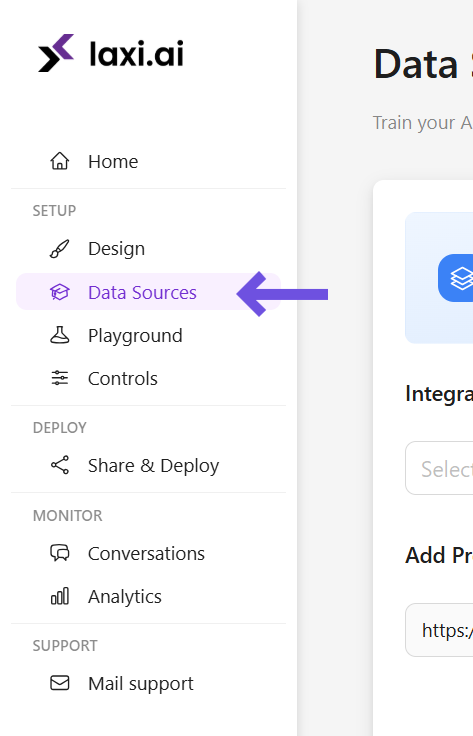 Once inside the Data Sources section, link your store, upload knowledge files, and sync the latest data.
Learn more about managing data in Data Sources & Training.
4. Testing Your Chatbot
Before going live, you can test and refine chatbot responses in the Playground section. Navigate to Laxi.ai Dashboard → Playground to:
- Simulate real customer queries.
- Check AI-generated responses.
- Make adjustments based on chatbot accuracy.
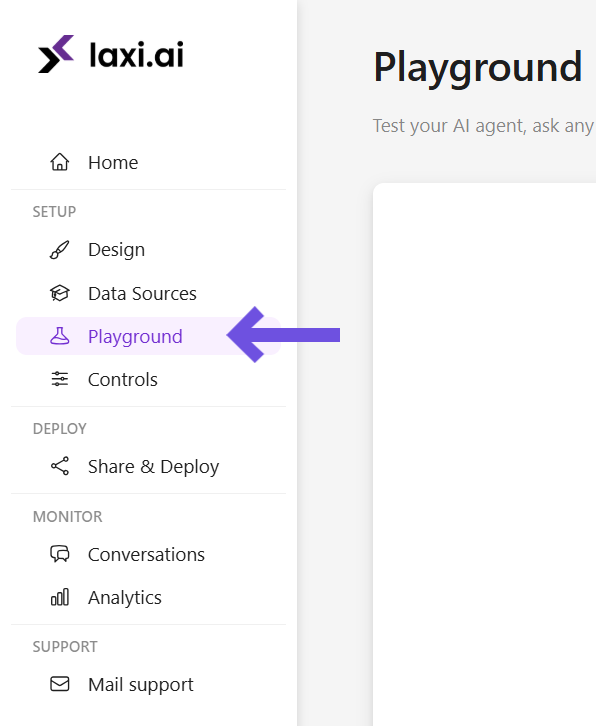 Interact with the chatbot in a sandbox environment and make necessary refinements.
For a full testing guide, visit Playground.
5. Deploying Your Chatbot
Once everything is set up, the final step is to deploy your chatbot by embedding it into your website. Navigate to Laxi.ai Dashboard → Share & Deploy to:
- Copy the embed code for your chatbot.
- Paste it into your website’s HTML before the
</body> tag.
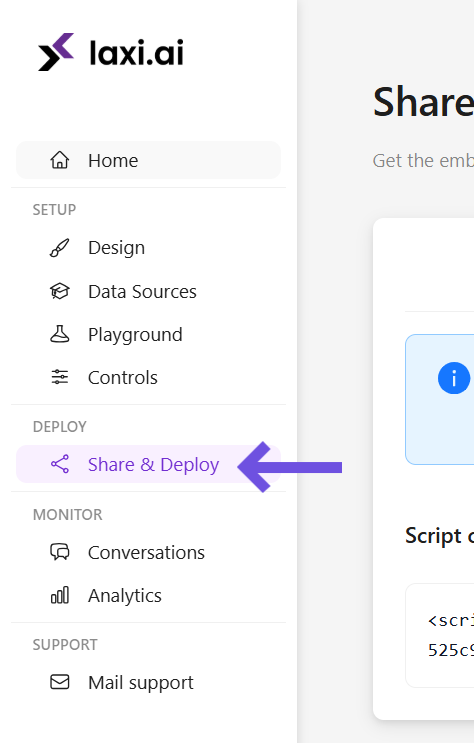 Insert the provided script into your website’s HTML to activate the chatbot.
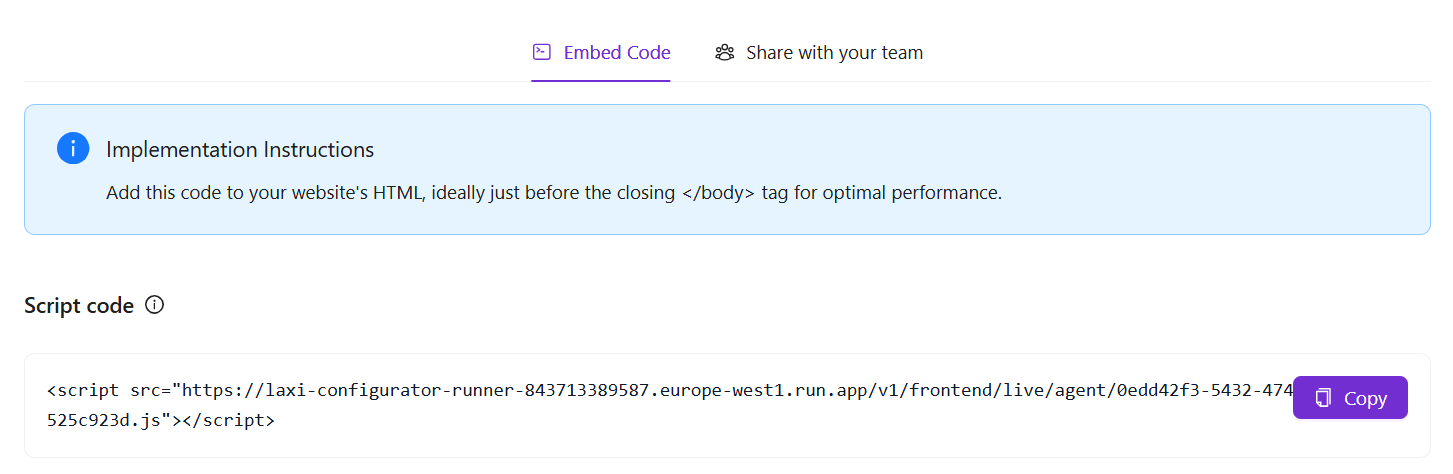
For the best performance, add the embed script just before the closing </body> tag to ensure smooth loading.
Learn more about manual deployment in Manual Embed Integration.
Final Thoughts
By following these steps, you can successfully set up and launch your AI chatbot. From customizing its appearance to integrating data sources and testing, Laxi.ai provides an easy-to-use platform to automate customer interactions.
Your chatbot is now live and ready to assist customers! 🚀