Personalizing Your Chatbot’s Appearance
Laxi.ai allows you to fully customize your chatbot’s look, tone, and messaging to align with your store’s branding. From adjusting fonts and colors to defining tone and welcome messages, this guide will walk you through every customization option. To begin, navigate to the Laxi.ai Dashboard → Design Settings. This section provides all the customization options for your chatbot.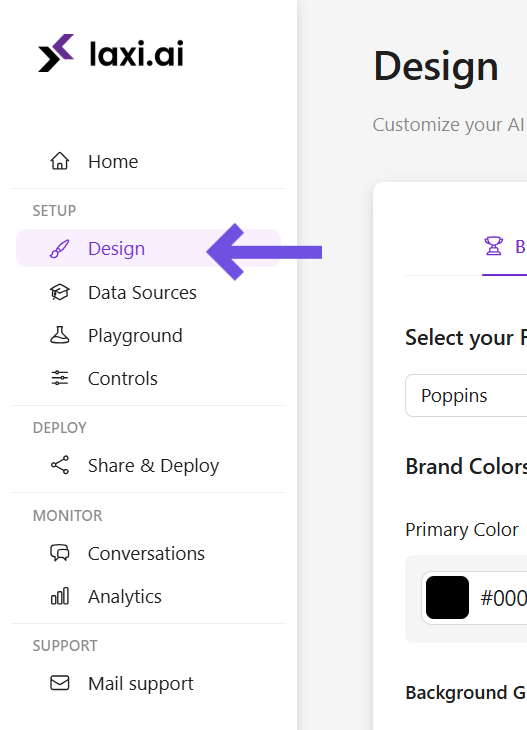
1. Adjusting Branding & Colors
The Branding & Colors section lets you define how your chatbot appears visually on your store. You can select fonts, colors, and gradient styles to match your store’s design.Selecting a Font
Choose a font from the available options that aligns with your store’s typography. This ensures that the chatbot feels like a natural extension of your brand.Setting Colors
You can customize different colors to control the chatbot’s appearance.- Primary Color – This is the main color of the chatbot window and UI.
- Secondary Color – Used for chatbot responses and interface highlights.
Adding a Background Gradient
You can apply a gradient effect to the chatbot background:- Select a gradient direction using the slider.
- Add up to five gradient colors for a smooth visual transition.

For a consistent look, use colors that complement your store’s theme. A well-matched chatbot design creates a more professional and engaging experience for customers.
2. Setting the Language & Tone
Your chatbot should communicate in a way that resonates with your audience. In the Language & Tone section, you can configure how it interacts with customers.Choosing a Language
Select a language from the list of available options. If your store serves international customers, choose a language that best matches your audience.Defining the Chatbot’s Tone
The chatbot can communicate in different styles depending on your brand’s personality. Choose from:
- Friendly – Casual and conversational interactions.
- Funny – Lighthearted responses with humor.
- Professional – Clear and polished responses.
- Formal – Precise and authoritative communication.
Consider your brand’s voice when selecting a tone. A friendly tone works well for casual brands, while a professional or formal tone is better for high-end or corporate businesses.
3. Customizing Messages & Suggested Responses
Your chatbot should provide helpful and relevant responses from the moment a customer interacts with it.Writing the First Message
The first message appears when a customer opens the chatbot. Use this to:- Greet the customer and introduce the chatbot.
- Offer assistance, such as “How can I help you today?”
- Highlight key features like order tracking or product recommendations.

Setting Personalized Suggested Messages
You can configure predefined responses to guide customers toward helpful answers.Choosing a Category
Select a category that best fits the type of question:- Product Questions – Help users find products or recommendations.
- Order Information – Assist with tracking and delivery details.
- Payment & Refunds – Provide guidance on transactions and policies.
- Account Help – Handle login, sign-up, and profile issues.
- General Support – Answer common FAQs about the store.

Selecting a Suggested Question
Once a category is selected, choose from pre-set questions that customers frequently ask.4. Adjusting the Chatbot’s Toggle & Logo
The toggle button is what customers click to open the chatbot. You can customize its size, color, and placement to ensure it blends well with your store’s layout.
Uploading Your Company Logo
You can personalize the chatbot further by adding your store’s logo.- Upload an image file or enter a logo URL.
- Click Upload to apply the logo inside the chatbot window.
Adjusting Toggle Appearance
The chatbot toggle can be adjusted in the following ways:- Select a toggle size – Small, Medium, or Large.
- Scale the logo – Adjust its visibility inside the toggle.
- Set the toggle color – Match it with your store’s theme.